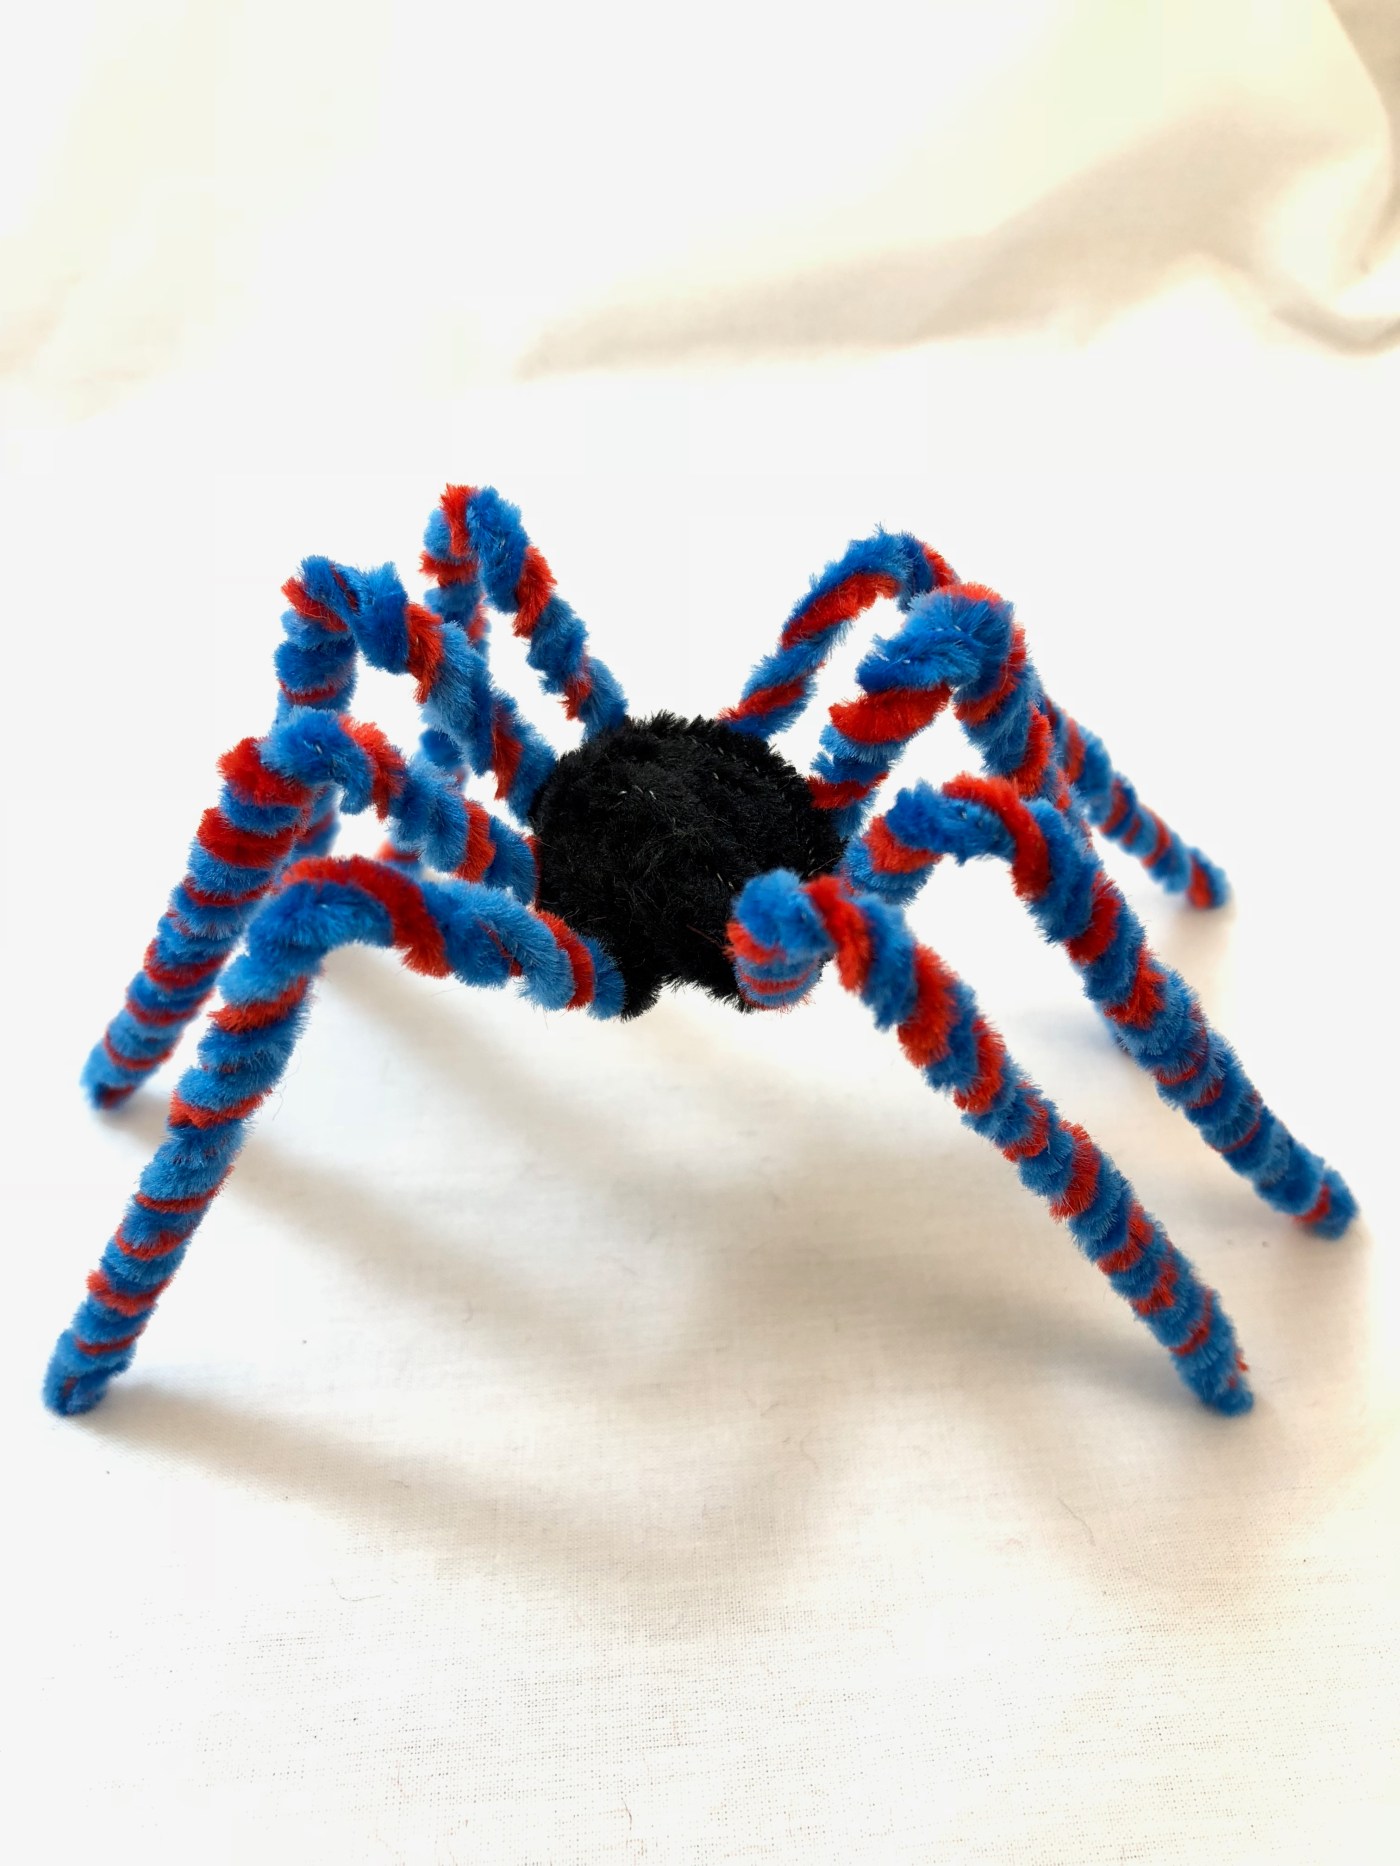
This easy pipe cleaner (chenille stem) spider can be made in about 20 minutes. It does not require any wire cutter. Here are the step by step instruction on how to create it.
- Start with 8 blue pipe cleaner and bend them all in half.

- Put one blue pipe cleaner on each side of a red pipe cleaner, the rounded edge toward the outside.

- Twist both sides from the outside to the inside to create a long, spiral with a small space in the middle.

- Put two of these sticks together in an X shape and twist once so they stay together at the middle. Then repeat with the third and fourth stick so that you have a circle of 8 points.

- Weave a black pipe cleaner around the legs, over and under each leg as you go around until you have gone under and over each leg once.

- Attach one more black pipe cleaner to a leg and starting from the outside in, spiral it around in a circle on top of the center of the spider until you have filled it in completely.

- Bend the legs upward at a 45 degree angle and then about 1/3 of the way to the end bend downwards to make a nice, long leg.


That’s it, you are done! Enjoy your creepy crawly spider.
For some other easy pipe cleaner animals, check out the following:
Pipe Cleaner Turtle – Step by Step Instructions (Easy 30 minute project) Chenille Stems
