
Pipe cleaners as a medium are generally easy to work with, but when you try to make something very large that needs to support its own weight, it can be quite challenging. Pipe cleaners are meant to be bendable, so when you want them to act more rigidly, there is a lot of thought that must go into the design or the whole creation may crumble or bend under the stresses of the hundreds or thousands of pipe cleaners that have gone into its construction.
For large pieces that have a lot of internal volume, such as a body or head, the best method of construction is to make a grid pattern throughout the animal. If it is made completely hollow, any sort of pressure or stress will cause it to become disfigured or crush it entirely. It is always best to use a picture as your model, preferably with many different angles shown in order to get the proportions and coloring correct. The picture used for this animal is as follows:

The body of the leopard was created by creating “slices” of the grid, starting from the middle and working out toward the back and the front. It is a slow process, and takes a good sense of proportioning to ensure the contours of the body are followed as closely as possible because it is very difficult to make any reductions later on. If you add too little you can always add more, but if you start off with too much in one area it is challenging to reduce the size later. The larger the animal, the closer the grid lines need to be, but as the grid lines become closer, more pipe cleaners are used, adding weight to the final product. For this size animal, I just grid about a 1 inch square grid throughout, except that was slightly larger for the centre of the body, and slightly smaller for the load baring areas, such as the connections to the legs and head.

I will go through the building of this animal with some step by step pictures to show the approach I took in its construction. I will save some of the more intricate details on making the grid and some suggestions on keeping the shape correct for a future post.
Keeping the grid pattern as neat as possible is not a priority, but it does make it easier later to cover with the “Skin”, or coloring of the outside of the animal. (On thing to point out in this image is that the head was found to be too cartoonish, and was later scrapped for a much better style as you can see in the finished product).
Once you have the grid and the overall shape of the animal is exactly how you want it, you can start to add the coloring to the outside. You must be completely happy with the shape at this point, because it is a point of no return. Once the coloring is on, it is very time consuming to make any corrections, even if they are very minor.

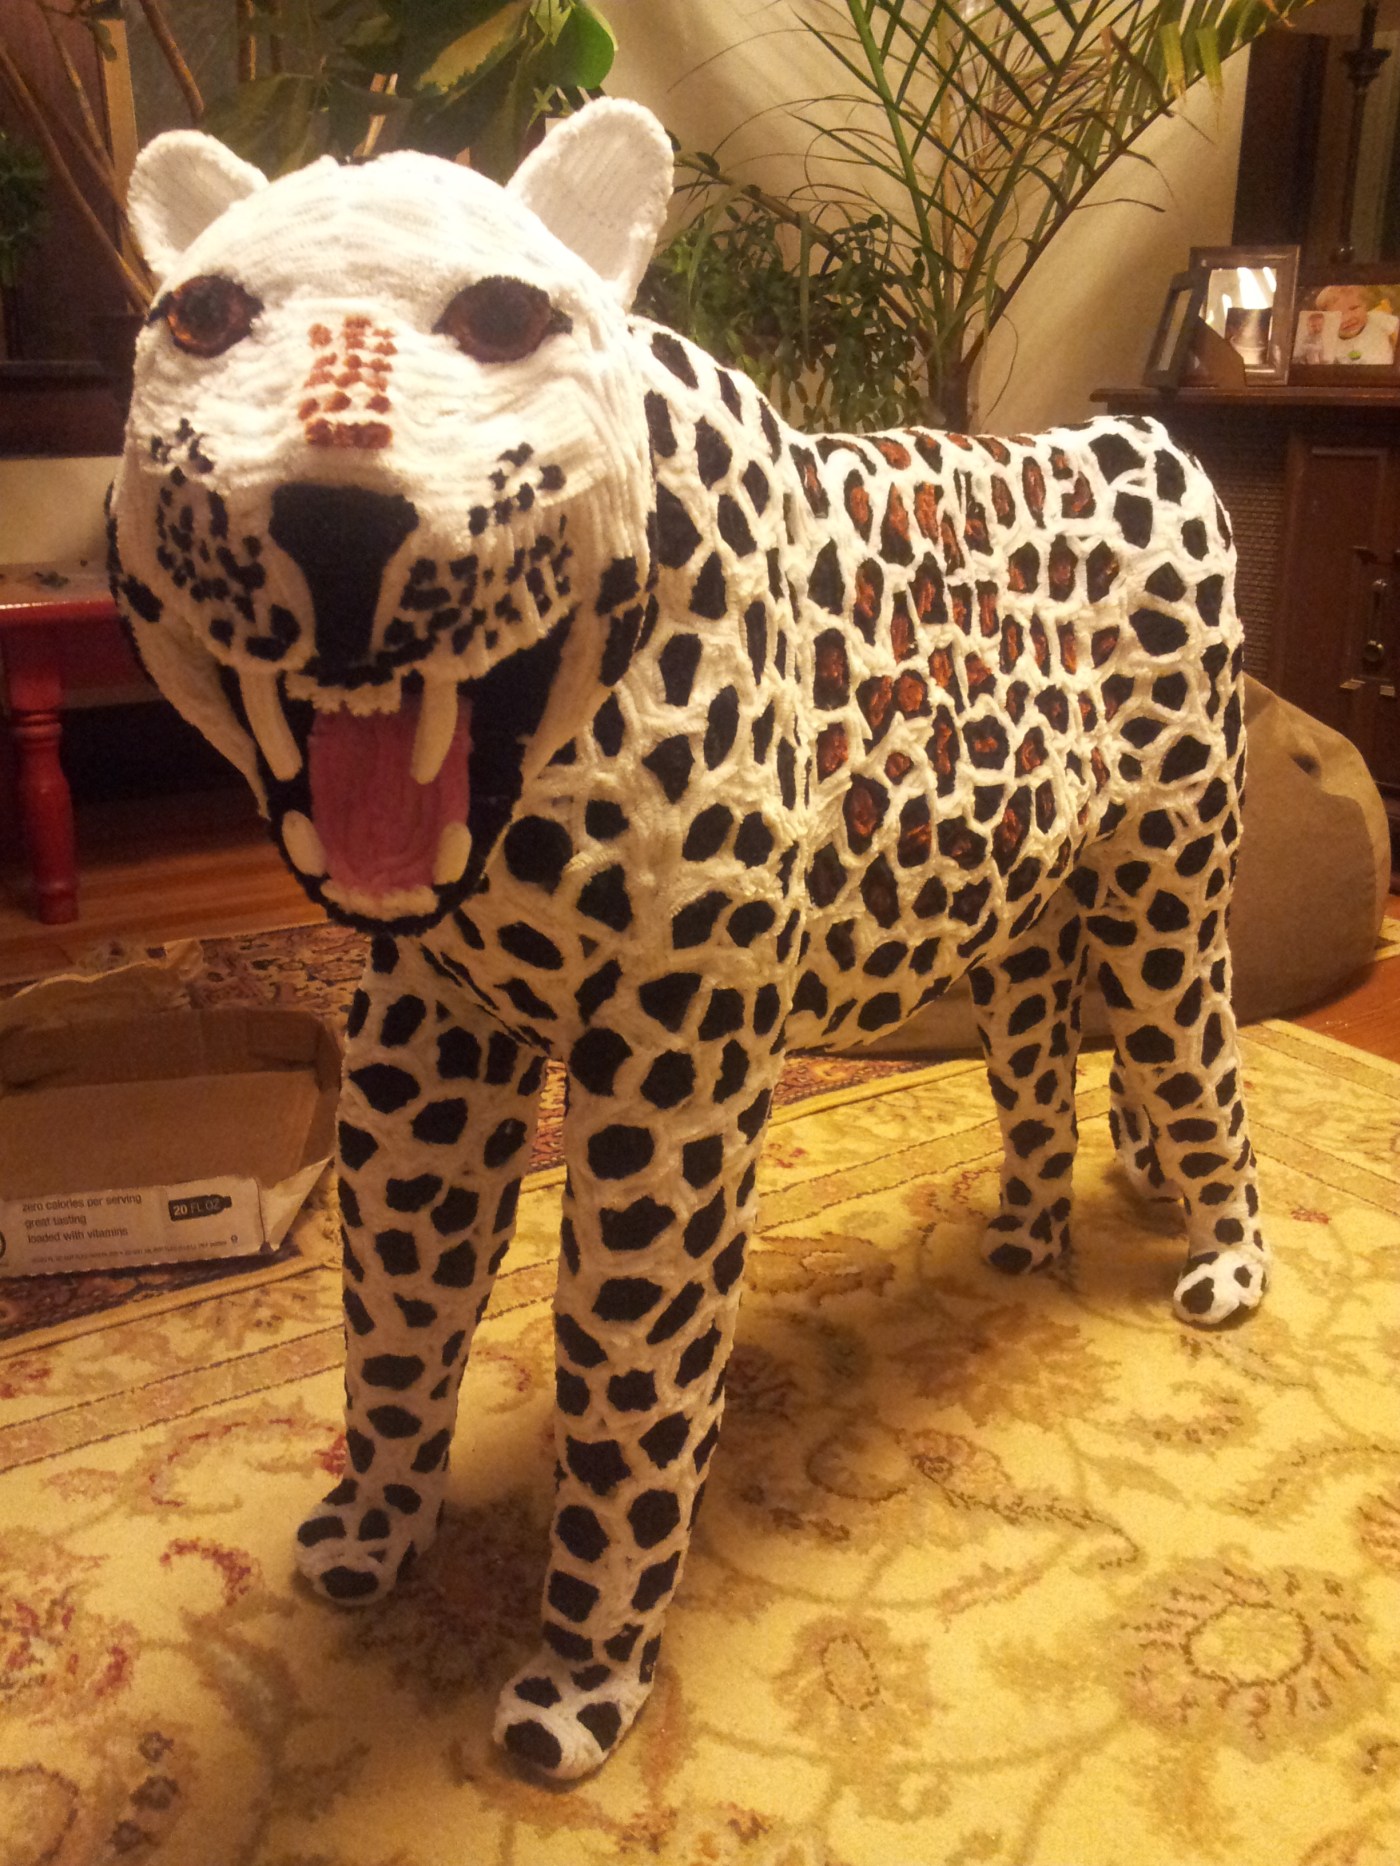
Adding skin to the leopard was quite time consuming due to the irregular spots. An animal that is one solid color can have skin added simply be adding row after row of a single color. The spots require adding the outlines first, and then filling them in later. It can be a difficult process because you also need to work with the grid pattern that is underneath, as that is the only way to affix the skin. If you are missing a grid line where you want to place a spot, compromises or further construction is necessary to get it just right.
Once The spots have been outlined you can start filling in the color. At this point you will start to see the structural integrity greatly improving. The addition of the skin adds so many new connection points that it really helps solidify the construction.

At this point, the head was added, starting with some very loose connections, and then solidifying the construction by adding more and more connections in a sort of ad hoc grid pattern. To avoid the head from causing the neck to slump, it was important to strengthen the neck quite well. Once it has been securing connected, the correct shaping can be added. This was also a good time to add the ears to the top of the head.


Check the gallery of the images above and some more images showing additional details on the construction and final product


For some easier projects, check out these other articles.


